1. Introduction to the TEXTSPLIT Function
The
TEXTSPLIT function in Excel allows you to divide text strings into separate columns and/or rows based on a specified delimiter. Here is an example of text split by spaces.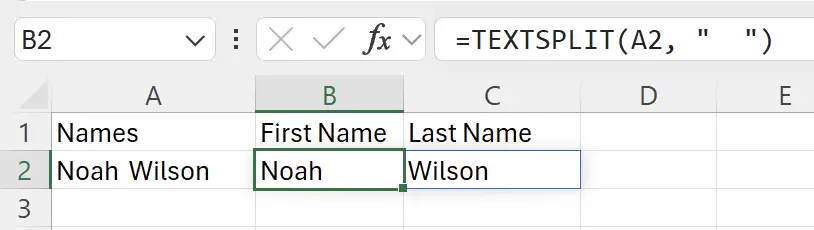
2. Parameters of the TEXTSPLIT Function
Here is the syntax for using the
TEXTSPLIT function.=TEXTSPLIT(text, col_delimiter, [row_delimiter], [ignore_empty], [match_mode], [pad_with])text: required The text you want to split. Can be supplied as a string or cell reference. col_delimiter: required The text that marks the point where to spill the text across columns. row_delimiter: optional The text that marks the point where to spill the text down rows. ignore_empty: optional Specify TRUE to ignore consecutive delimiters. Defaults to FALSE, which creates an empty cell. match_mode: optional Specify 1 to perform a case-insensitive match. Defaults to 0, which does a case-sensitive match. pad_with: optional The value with which to pad the result. The default is #N/A. 3. Split a cell horizontally across columns
Here is an example of text split by comma:
=TEXTSPLIT(A2, ","). Here the delimiter is , enclosed in double quotes.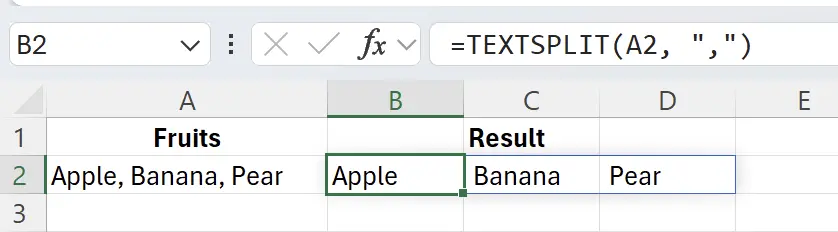
4. Split a cell vertically across rows
To split across rows, omit the second argument, and input the third argument:
=TEXTSPLIT(A2, , ",")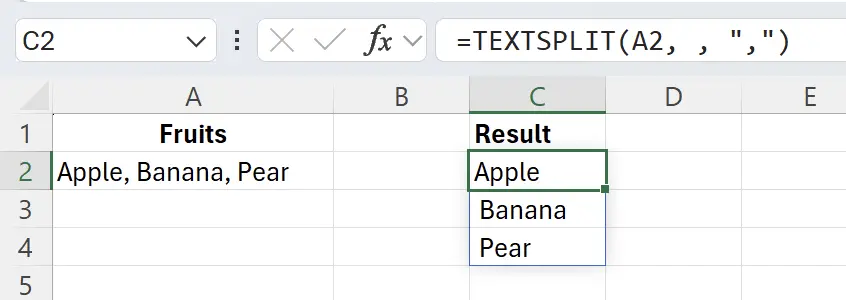
5. Split string into columns and rows at once
Here is
The equal sign
A comma and a space
=TEXTSPLIT(A2, "=", ", "). The equal sign
= is the column delimiter. A comma and a space
, is the row delimiter.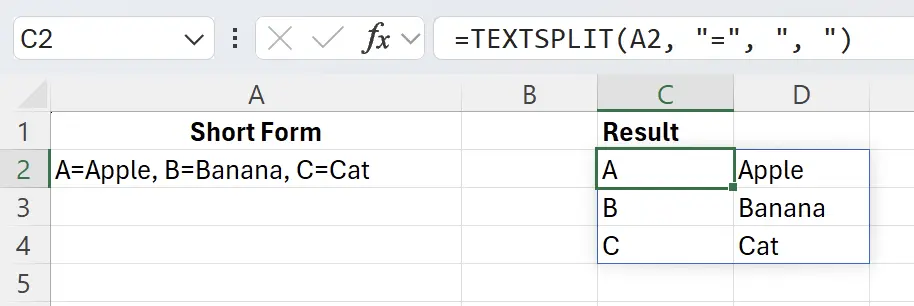
6. Separate cells by multiple delimiters
When dealing with multiple delimiters simultaneously, use an array constant to specify them:
=TEXTSPLIT(A2, {"x","*"})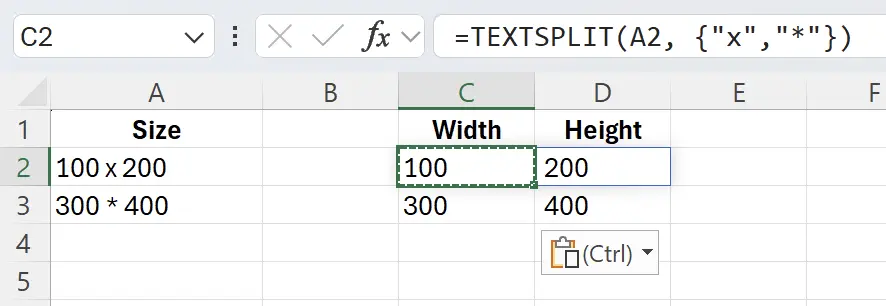
7. Cell splitting Case Insensitive
To ensure that your delimiter is case-insensitive, set
match_mode to 1: =TEXTSPLIT(A2, "x",,,1)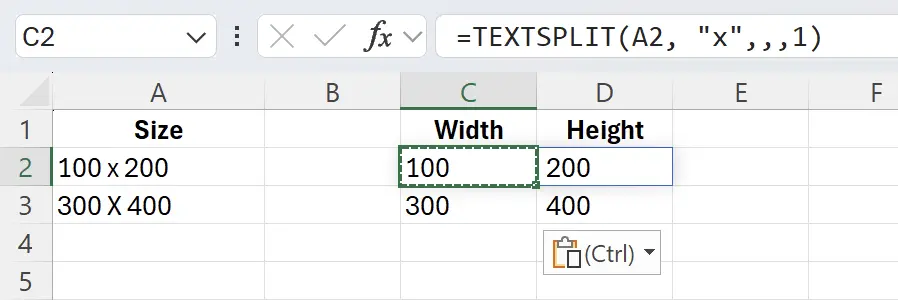
8. 🎉 Finish! 🎉
Author's Note: I hope you can feel the effort I put into these tutorials. I hope to create a series of very easy-to-understand Excel tutorials.If it is useful, help me share these tutorials, thank you!
Follow me:
Related Tutorials